Photoshop制作蓝色圆珠笔手绘花朵照片
2014/10/8 20:16:07来源:思缘设计
本教程主要使用Photoshop简单方法制作圆珠笔画效果,这种手绘的效果非常的实用漂亮,喜欢的朋友让我们一起来学习吧。
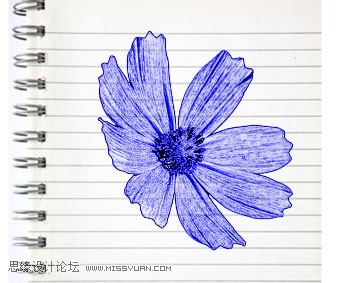
先看一下显示的最终效果

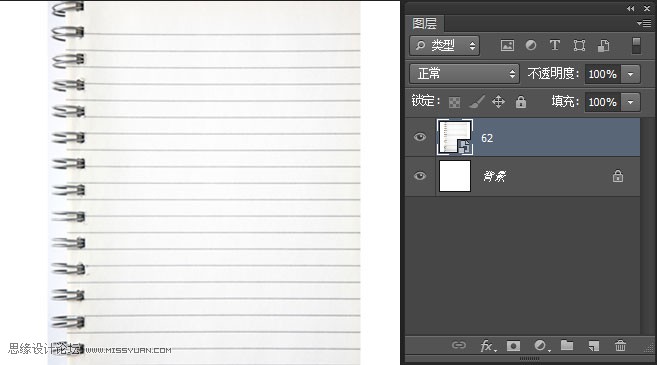
1、新建文件导入一个笔记本的背景
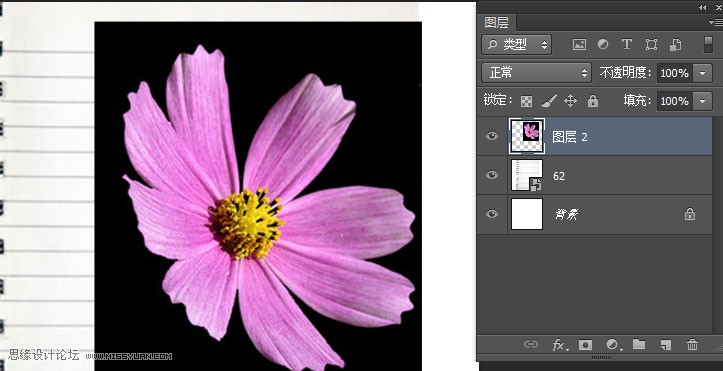
2、将要做效果的图片导入到舞台
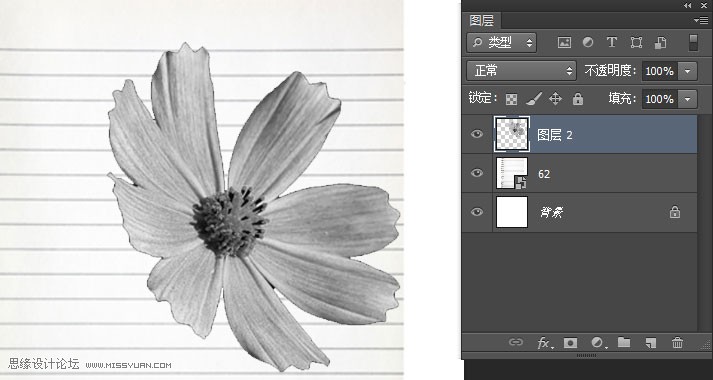
3、将花朵抠出来,“ctrl+shift+U”去色,如图
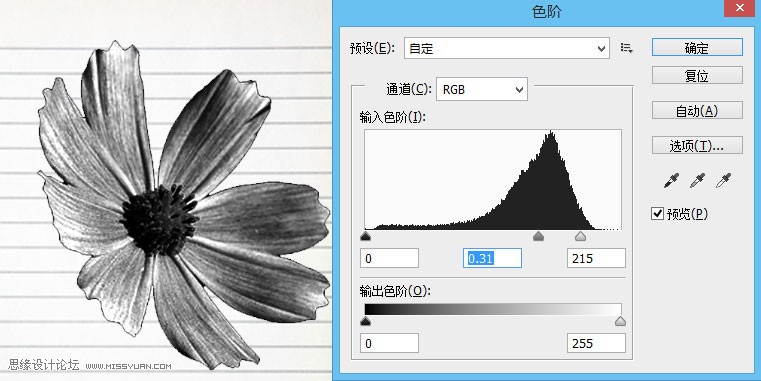
4、“Ctlr+L”色阶
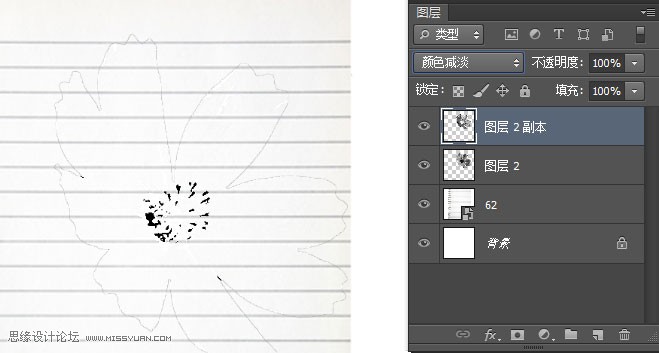
5、“ctrl+J”复制新图层,“ctrl+I”反相,将“图层2副本”图层混合模式改为“颜色减淡”,也将“图层2”的图层混合模式改为“正片叠底”如图
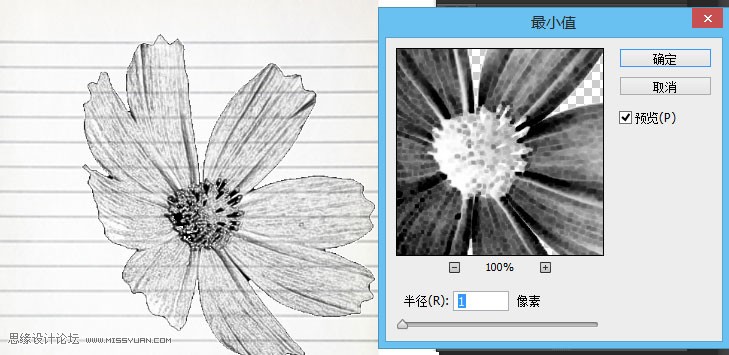
6、点击“滤镜”>“其他”>“最小值”如图
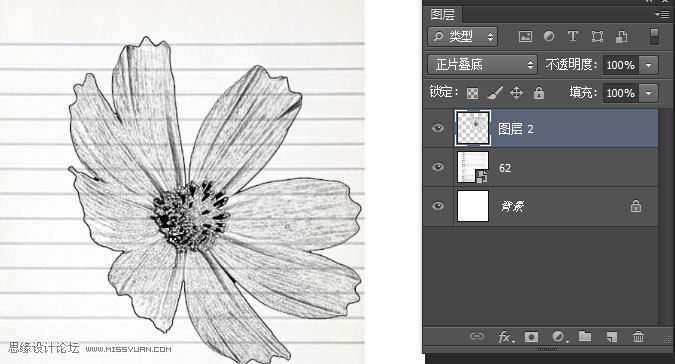
7、“ctrl+E”合并图层
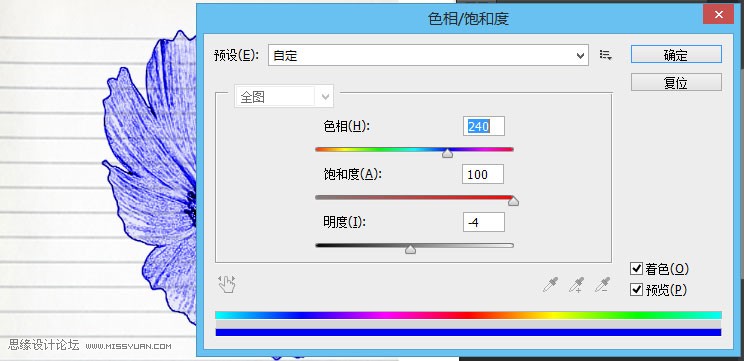
8、“ctrl+u”打开色相/饱和度,勾选着色,如图
显示最终效果
免责声明:本站文章系图趣网整理发布,如需转载,请注明出处,素材资料仅供个人学习与参考,请勿用于商业用途!
本文地址:http://www.tuquu.com/tutorial/ps2325.html
本文地址:http://www.tuquu.com/tutorial/ps2325.html
下一篇:PS修图手把手教你精修美女头像
这些是最新的
最热门的教程
