ps混合模式进行人像抠图
2014/10/8 20:17:15来源:PS之家
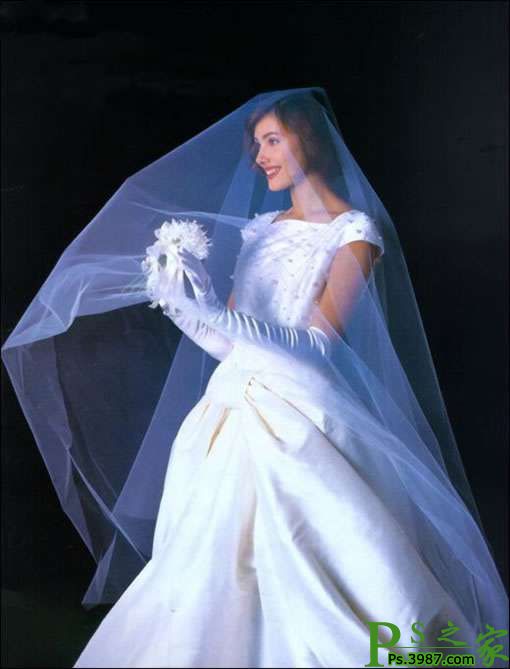
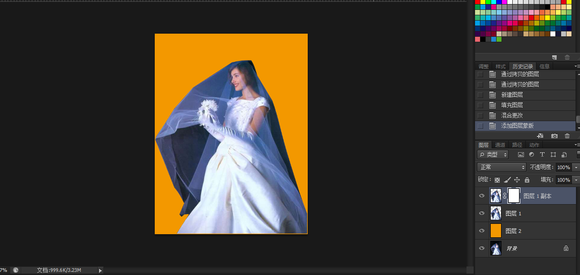
1.打开一张素材。
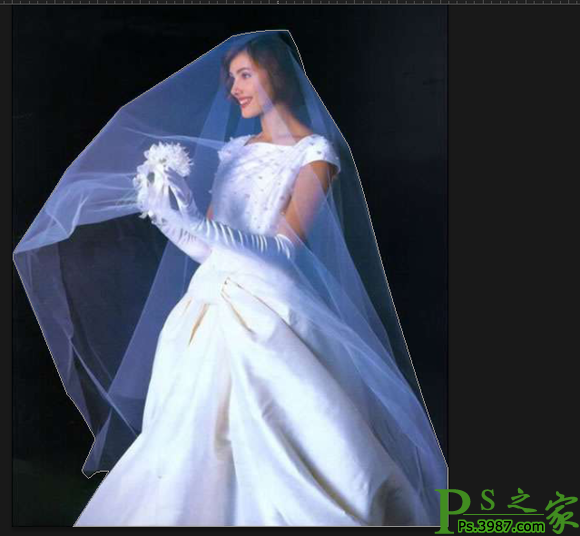
2.用钢笔工具(p)将人物抠选出来,如图示。
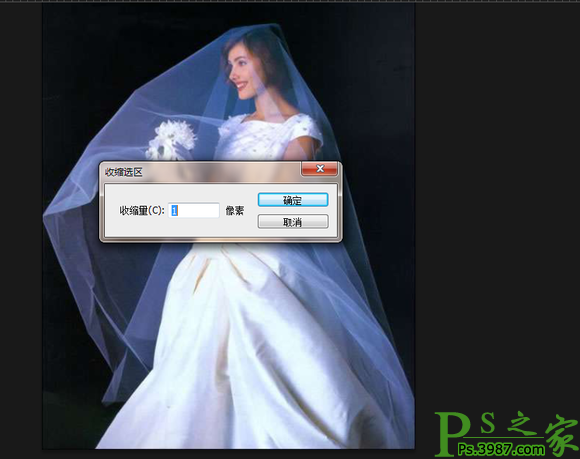
3.单击右键选择建立选区,将路径转化为选区,选择【菜单-选择-修改-收缩】,设置一个像素,点击确定。
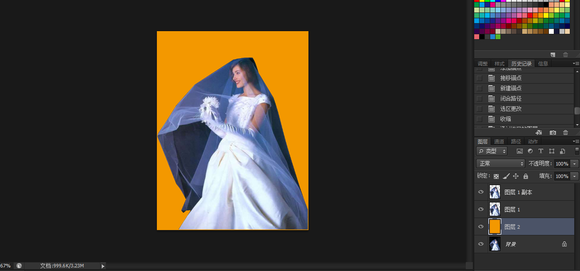
4.按ctrl+j复制两层,在背景图层上新建空白图层,填充一个颜色如下图,这个可以随意。
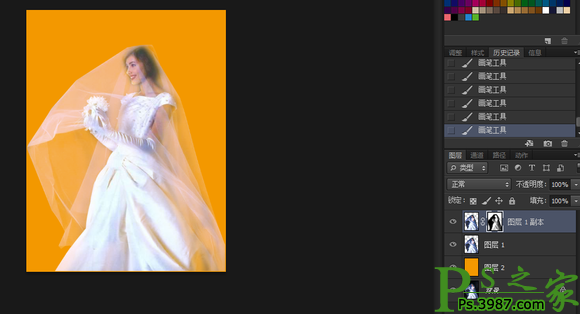
5.关闭图层1副本,把图层1的混合模式改为“滤色”,如下图所示。

6.在图层1副本添加白色蒙版,如图所示,用黑色画笔在透明婚纱的部分涂抹,直到满意的结果。
这样最终的抠图就算完成了效果图。
免责声明:本站文章系图趣网整理发布,如需转载,请注明出处,素材资料仅供个人学习与参考,请勿用于商业用途!
本文地址:http://www.tuquu.com/tutorial/ps2362.html
本文地址:http://www.tuquu.com/tutorial/ps2362.html
下一篇:Photoshop抠图方法大全
这些是最新的
最热门的教程
