PS创建璀璨的黄金钻石字体
今天图趣网分享的教程,背景暖心,字体璀璨,两者搭配得刚刚好,教程的渐变运用得细腻巧妙,还贴心地都标注了颜色值,全中文界面,很值得新手一试呦。

第1步:
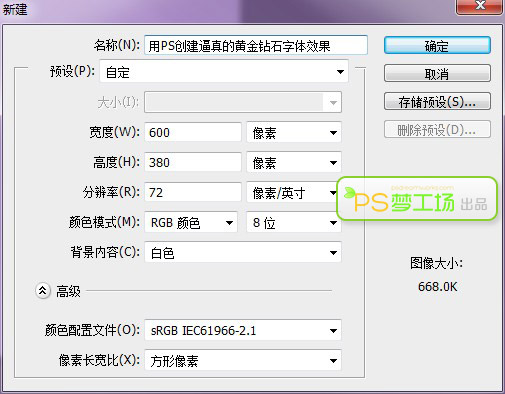
打开Photoshop,Ctrl+N新建一个空白文档。我这里选择的尺寸是600×380px,你可以根据自己的需要来定义尺寸。
第2步:
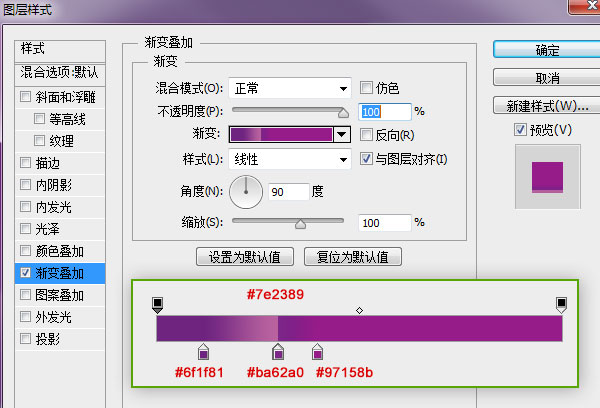
我们首先来创建个紫色背景。按住Alt键双击背景图层,使其转换成普通图层。双击背景图层,打开图层样式窗口,选择渐变叠加。渐变样式如下图所示。

第3步:
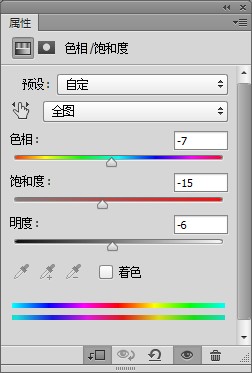
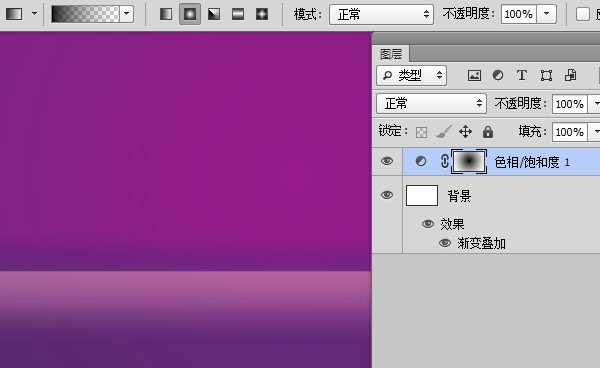
添加色相/饱和度调整层,参数设置如下图。选中蒙版缩略图。然后选择渐变工具,渐变样式选择径向渐变,颜色为由黑色到透明,在蒙版上由内到外拉出渐变。
第4步:
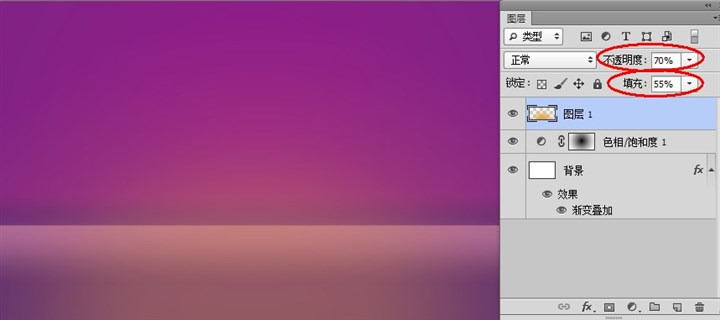
新建一层,选择渐变工具,颜色为#e3b042到透明,渐变样式为径向渐变,由底部向上拉出渐变。
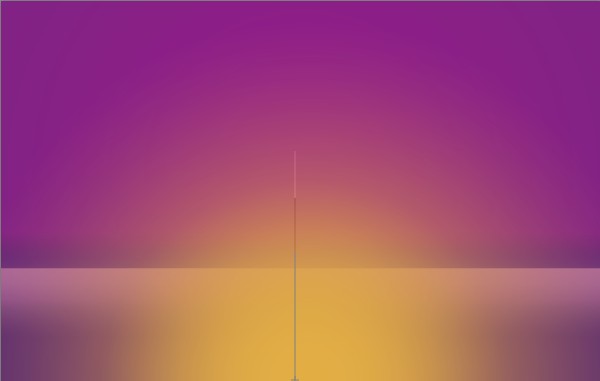
将此渐变图层的不透明度设置为70%,填充度设置为55%(这里的参数可以根据自己的喜好来设置)。
第5步:
新建一层,利用同样方法在背景上方添加由#fdd135到透明的渐变,并将不透明度设置为70%。
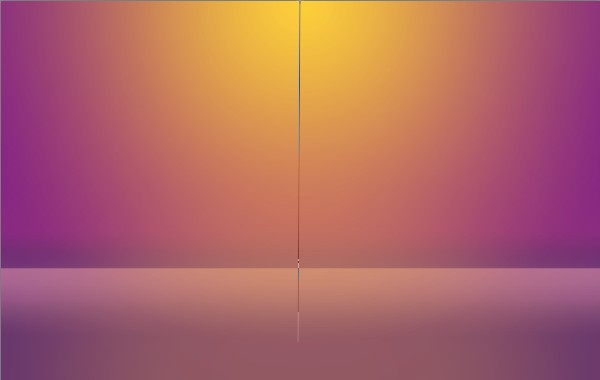
我们继续为背景添加光源。新建一层,添加由 #fefbcd到透明的渐变,这次可以将渐变拉的长一些以覆盖大部分区域。

继续添加光源。新建一层,添加由#fdfbf2到透明的渐变,这次的渐变尺寸要小一些,已营造出光源近处的场景。

第6步:
下载并安装COPASETI字体,输入你喜欢的文字。我使用的文字颜色为#d4ad74,大小为200点。

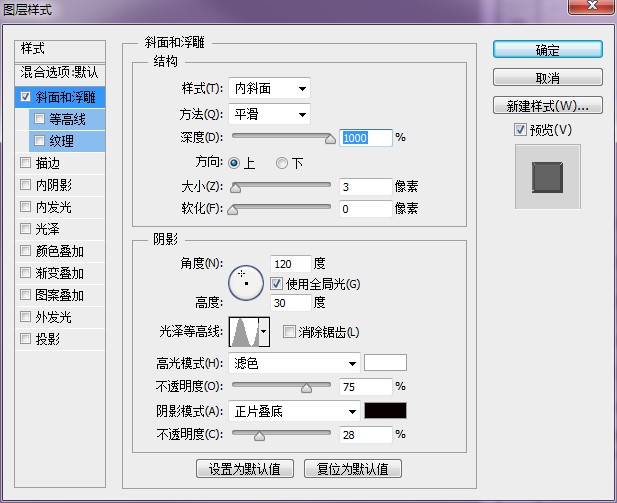
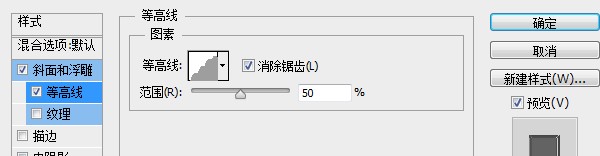
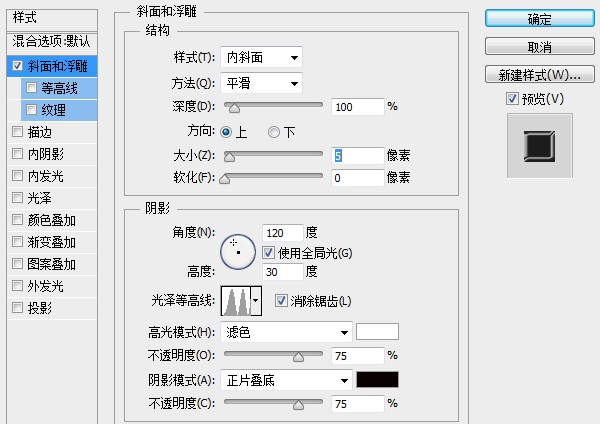
双击文字图层,为文字添加图层样式。首先添加斜面和浮雕样式,参数设置如下,这里注意光泽等高线的设置。
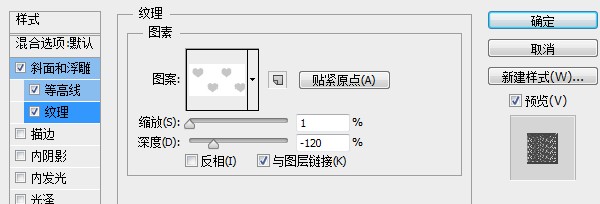
下载并安装心形图案,此处将用到心形图案的填充。参数设置如下。
添加完图层样式的文字效果:

第7步:
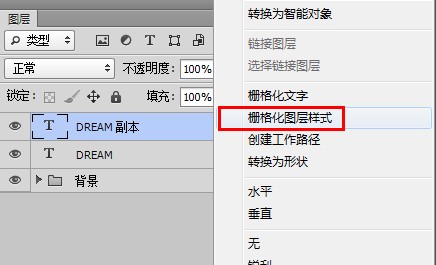
Ctrl+J将文字图层复制一层,右键选择栅格化图层样式。
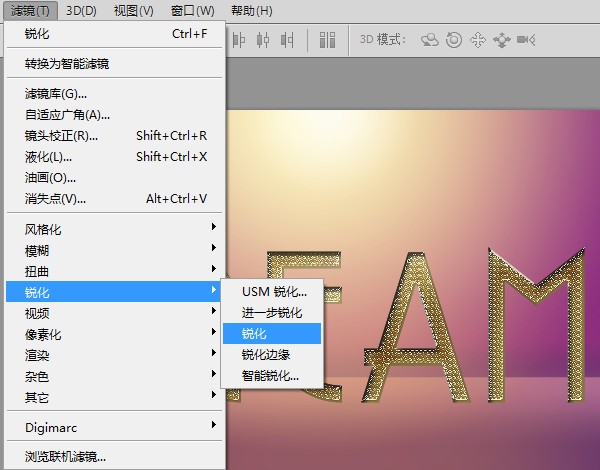
执行滤镜>锐化>锐化。然后将图层不透明度设置为60%。
第8步:
选择减淡工具,范围选择中间调,曝光度设置为10-30%,在复制的文字图层上绘制出光源照射的亮部区域。这里根据需要不时切换阴影/中间调/亮部、曝光度及减淡工具画笔大小。用同样方法利用加深工具绘制出暗部。

第9步:
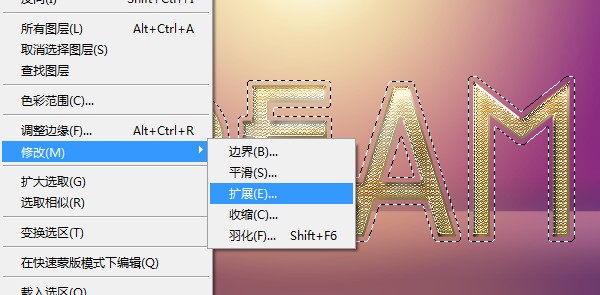
安装Ctrl键点击字体图层缩略图来建立选区。

执行选择>修改>扩展,将选区扩展5px。
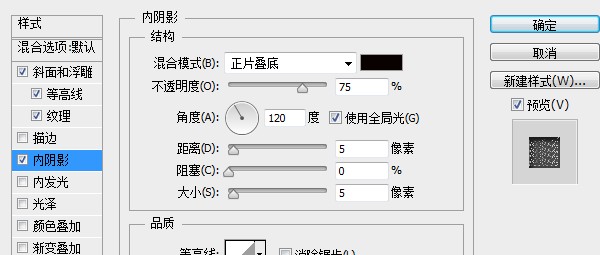
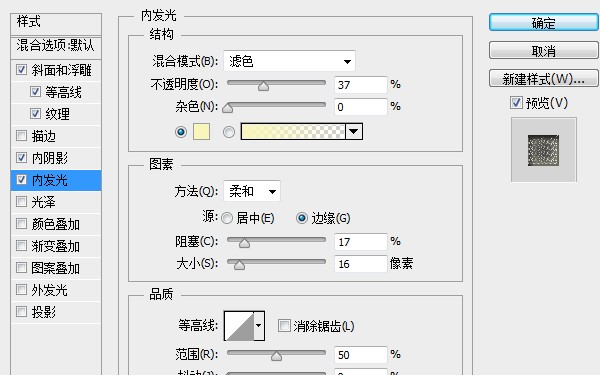
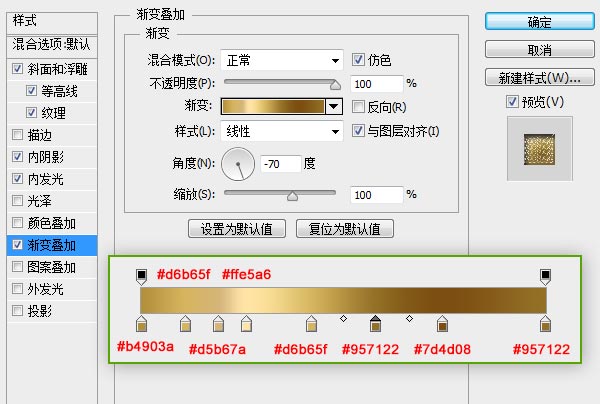
在文字图层下方新建一层,命名为“金边”,填充为#d4ad74。然后双击图层为其添加图层样式。
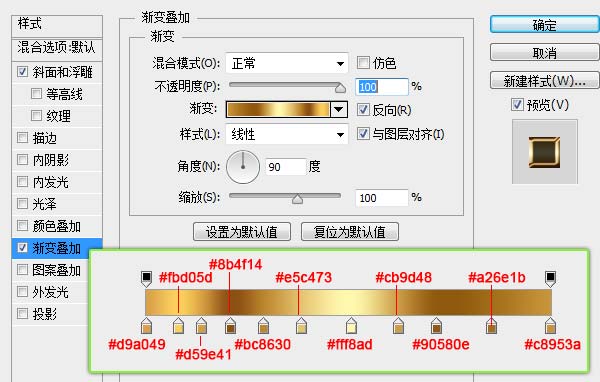
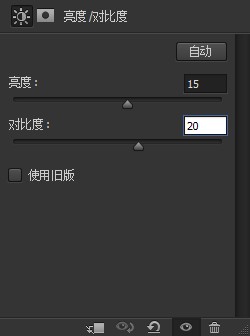
添加图层样式后的字体效果如下图。按住Ctrl键单击“金边”图层以建立选区,然后在字体图层上方添加亮度/对比度调整层,设置参数如下。由于选区的作用,调整层只对文字区域起作用。

第10步:
选中调整层、文字层与“金边”层(可按Ctrl加选),Ctrl+Alt+E新建合并层,命名为“倒影”。Ctrl+T进行自由变换,将其垂直翻转,并移动到文字下方。

为倒影图层添加蒙版,使用渐变工具创建出倒影。然后将不透明度设置为80%(数值可自由调节)。

第11步:
下载并安装光芒画笔,新建一层,在图层上利用光芒画笔绘制不同形状与大小的光芒。
光芒笔刷 微盘下载

第12步:
接下来新建一层,使用白色圆形画笔在图层上绘制,不时改变画笔大小以创建出随机的光斑效果。将图层不透明度设置为25%,图层混合模式设置为颜色减淡。

第13步:
下载钻石素材,随机摆放在画面上便大功告成了。(注意在地面上钻石的投影)
本文地址:http://www.tuquu.com/tutorial/ps2460.html
